


About Us
Secure Precise Building Documentation
Unveil Every Detail of Your Properties with Advanced 3D Laser Mapping & Detailed As-Built Surveys
Engaging with BuildMap signifies a partnership with experts in the field. Our service offers exhaustive as-built documentation, providing the essential accurate data to define your project's scope and financial plan accurately. By incorporating advanced 3D laser scanning and aerial drone technology, we supply an reliable blueprint for your projects. This allows your team to establish an error-minimizing base, enhancing overall project effectiveness and minimizing costly reworks.
The challenge of revisiting previously completed work is daunting; however, BuildMap is committed to compensating for any time lost, ensuring your project proceeds efficiently and swiftly.
We collaborate closely with designers in the entertainment and fashion space, architects, engineers, contractors, property owners, and real estate specialists, offering them a contemporary, digital version of their building's records. This enables project advancement with a high degree of confidence.
Our accomplishments include:
Conducting scans and creating models for the famous Rocky Steps at the Philadelphia Art Musuem, Nissan Stadium in Nashville, Bayfront Park Miami Fountain, The White House Lawn among many others.
Utilizing LiDar Technology,
a 3D environment
(made up of millions of individual points) is created.
Lidar (/ˈlaɪdɑːr/, called LIDAR, LiDAR, and LADAR) is a surveying method that measures distance to a target by illuminating the target with laser light and measuring the reflected light with a sensor. ... Lidar sometimes is called 3D laser scanning, a special combination of a 3D scanning and laser scanning.
STEP 1: SCAN
Scanned 3-D Point Cloud Environment
Deliverable: Unregistered scan data
Deliverable: Registered Point Cloud (Unmodified)
Deliverable: Registered Point Cloud (Cleaned)
A scanning project consists of four major steps:
Scanning:
Scanning is the work done on site in the area of interest. With the scanner we own, (1) individual scan in color takes about 4.5 minutes. If it is a scan that requires the use of targets (typically outdoors) then another 1-2 minutes would be added to each scan. If the work is being done by a team of two people that additional time can be cut down to about 30s.
Utilizing LiDar Technology, a 3D environment (made up of millions of individual points) is created. This Point Cloud is then Registered with all other clouds that make up the scanned area. The full registered Cloud can then be used to pull dimensions, check for conflicts, or be used to Visualize the scanned area.
File Transfer:
Once the scans are complete, the files need to be transferred from the scanner (BLK 360), to the iPad Pro (ReCap Mobile), to the computer (ReCap Desktop). There is no other way to complete this step with the scanner and software that we own. There are other models of scanners that allow you to save the files to the computer directly from a USB drive. There is also software available from Leica (Register 360) that allows a file transfer directly from the scanner to the computer. The file transfer process is largely unattended as it mostly operates in the background while the user does other things.
Registration:
Registration is the process in which the individual scans are assembled together into one coherent master scan. The software we own to do this is ReCap Desktop. Depending on what is being scanned, this process can either be very automatic or very time consuming. If the scan is of an interior space or contains well defined geometry (like walls, floor, and ceiling), the computer will more than likely be able to assemble the scans on its own through a process known as “cloud to cloud” registration. Cloud to cloud registration still requires that the user confirm the end results just in case the software makes an error. When the scan is done on something like a field, there is very little geometry that the computer can confidently use to put the scans together which is why we tend to use the sphere targets in this instance. Registering with the targets requires that the user name all the targets used in the scan in ReCap Desktop. This takes about 1-2 minute per scan. The computer assembles the scans together once the targets are all named. After both the cloud to cloud and target registration the software needs to “index” the scans to complete the assembly process. Indexing is an unattended process but takes about 2-3 minutes per scan. There are higher end scanners that allow the user to register the scans in the field.
Measuring:
In some instances, scan data is only needed to take measurements. Measurements can be taken directly in ReCap.
*All Scanning projects are specific to client needs and cannot be accurately quoted without an overall scope of work that include:
- Size of site – Will determine what scanner is necessary & The amount of time needed onsite
- Level of detail – Site scans that require inclusion of HVAC & other types of utility network will require extended amounts of time to Map / Model
STEP 2: MODELING
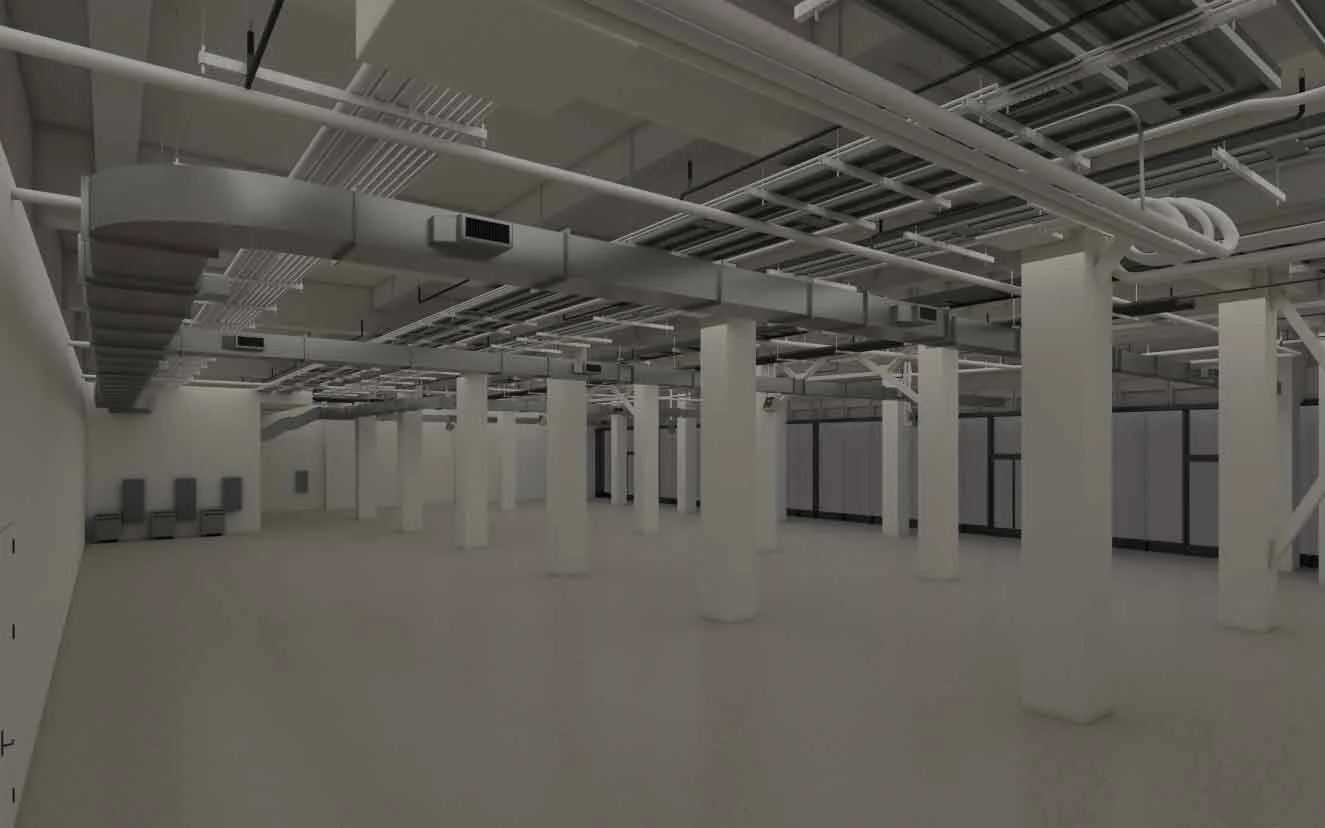
Initial 3-D CAD rendering
Automated Mesh – No Layers
MODELING PROCESS:
Registered Point Clouds are then taken into CAD programs and converted into Surface models. This process reduces the overall file size while at the same time making it more user friendly. Layer Pallets are used to organize the newly created objects into a simple 3D file.
In some instances, there is the need to either model the geometry that has been scanned or add new geometry that is modeled elsewhere. The time it takes to model the scan geometry is very dependent on what the end use is and what is being modeled. Walls and ceilings obviously take less time to model than chairs and trees. Likewise, a simple model for general clearances takes less time than modeling with the intention to create a new custom fit component. Generalizing the time it takes to model isn’t practical because there are just too many variables to account for, an estimation on a case-by-case basis probably makes the most sense for this. We perform our modeling in either AutoCAD or EdgeWise. EdgeWise is ideal for structural steel shapes like beams and pipes. AutoCAD doesn’t have very many point cloud modeling tools so it usually ends in the user tracing or matching the scan data. AutoCAD can also be used to insert existing geometry into the scan data. The time that it takes to use a scan in AutoCAD is largely dependent on the size of the scan.
STEP 3: DELIVER
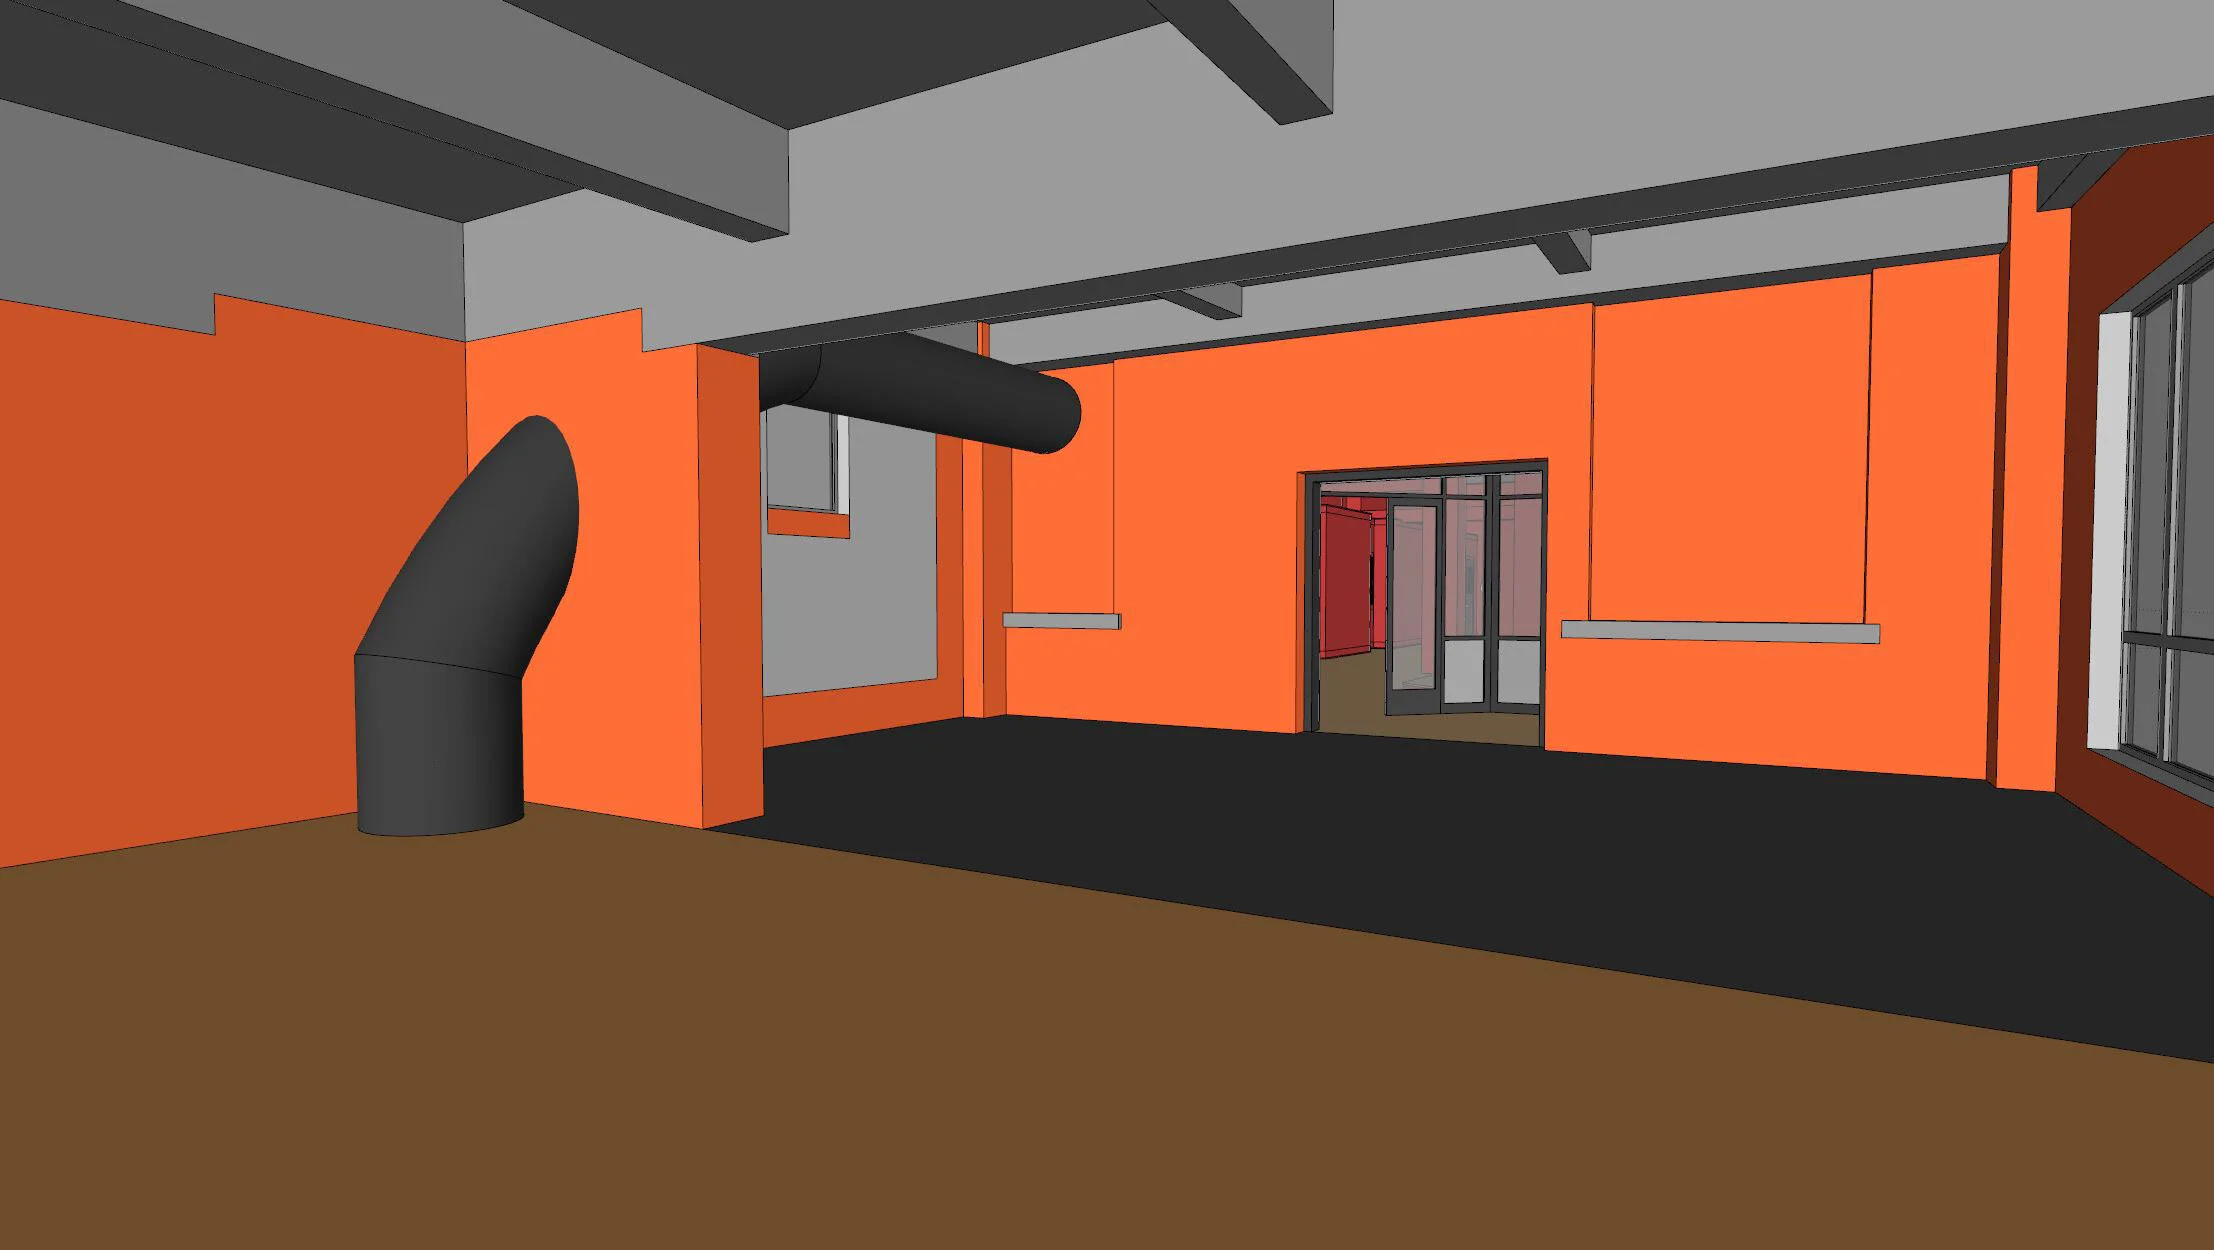
Enhanced 3-D Rendering
Manual Surface Creation – With Layers
Our Surface models can then be textured, Matching existing site materials, to create realistic renderings for Design / Visualization purposes.
360 Rotatable images can be created for e-commerce content, Virtual reality walk throughs can be utilized for client meetings & Renderings can be used to streamline design processes.


